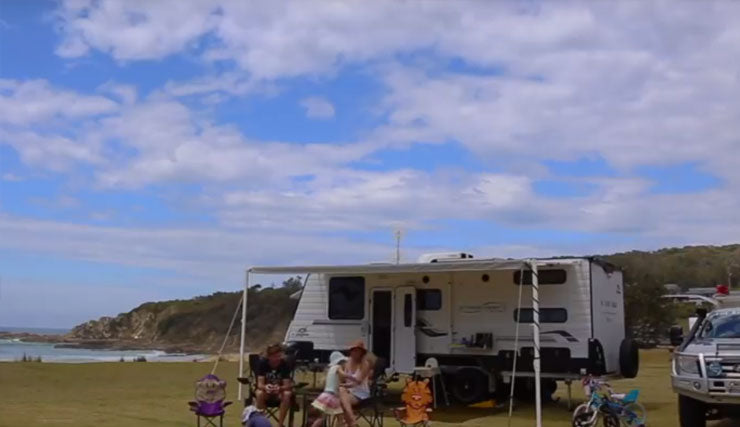
Caravan awnings are fantastic way to extend your caravan area, provide shade from the sun and protect you from the rain. But when the wind whips up and you’re left looking for ways to stop your awning from flapping around, you can’t go past an Anti-flap Kit. Learn how to install a kit onto your caravan awning to make it secure on those windy days
1. You’ll need to attach brackets to your caravan and drill holes into your awning. It’s easier than it sounds – simply go in 20 millimetres in from your canvas, and then 20 millimetres down from your canvas.
2. The anti-flap bar and the curved rafter both come with a clip on one end and a pin on the other. The clip attaches to the bracket you’ve installed on your caravan, while the pin is inserted into the hole on your awning.
Presented by: Rob from The Blonde Nomads
3. Fitting your kit is simple. The bar It comes in two parts, for easy storage, and you need to slide them together. Follow the instructions in step 2, and then lock the bar together to keep it tight.
4. To fit the curved roof rafter, follow those same instructions, then tighten the knob to keep the canvas from flapping.
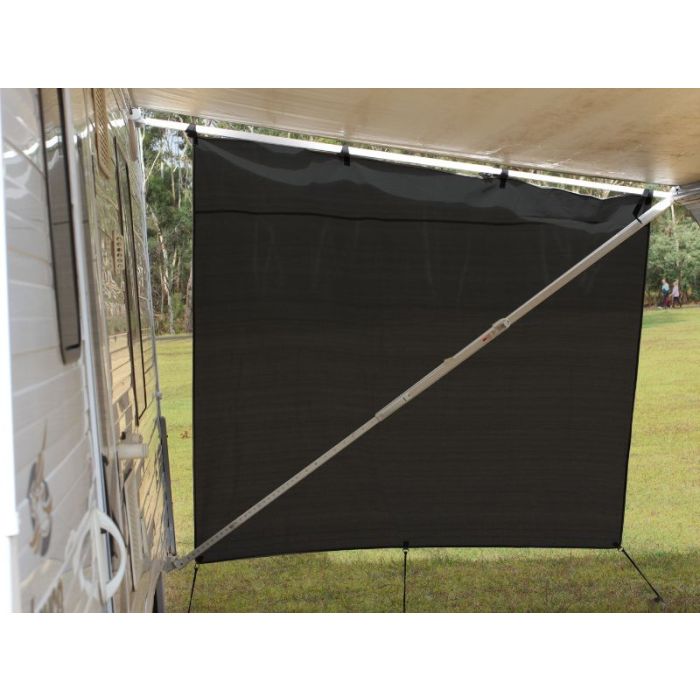
5. You can even slide annex walls into the anti-flap bar, to ensure you’re blocking the sun’s rays and keeping your privacy.
With anti-flap kits, you don’t have to worry about your canvas flapping in the wind, nor pooling water when it rains. Whether you’re going to a caravan park or going off the grid, you can explore with peace of mind.
